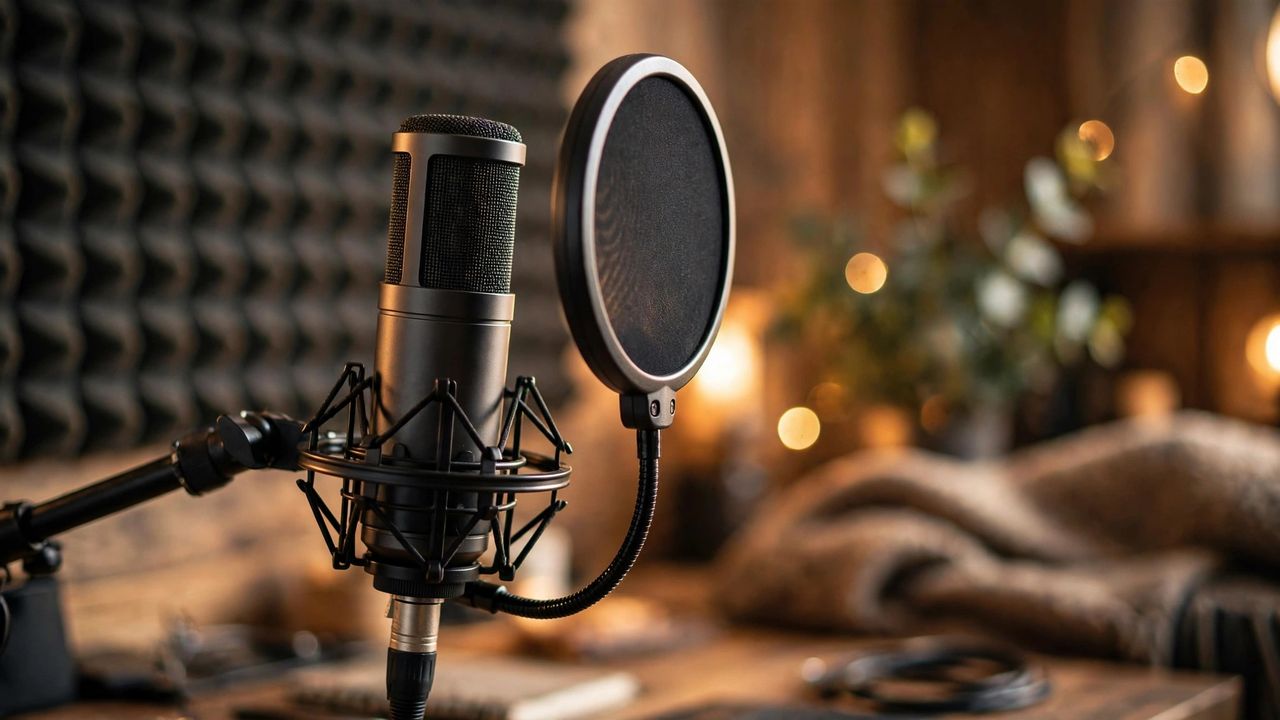
Listeners forgive shaky video, but they never forgive bad audio. The great news in 2026: you do not need a $400 microphone to sound professional. A sub-$150 mic, used correctly, beats an expensive mic used badly every time. Here is how to choose and set one up.
USB vs XLR: Pick Your Path
USB mics are the beginner's best friend — plug in and record, no extra gear. XLR mics need an audio interface (another $100+) but sound better and grow with you. Rule of thumb: starting your first podcast? Go USB. Planning a long-term studio? XLR pays off. Many 2026 models offer both USB and XLR outputs, giving you an upgrade path for free.
Condenser vs Dynamic
Dynamic mics (like the classic broadcast style) reject room noise and handle loud voices — ideal for untreated rooms, gaming, and streaming. Condenser mics capture richer detail but hear everything: the fridge hum, the neighbor's dog, your keyboard. In a noisy apartment, a $99 dynamic mic will sound more "pro" than a $300 condenser. Match the mic to your room, not to the reviews.
Your Room Matters More Than the Mic
Echo ruins more recordings than cheap gear ever will. Record in a small, soft-furnished room — closets full of clothes are famously great studios. Hang a thick blanket behind you, close the curtains, and turn off anything that hums. A $20 reflection filter helps, but soft surfaces beat gadgets every time.
Setup: Gain, Distance, Pop Filter
Keep the mic 4–6 inches from your mouth, slightly off-axis to avoid harsh "p" pops. Set gain so your loudest laugh peaks around −12 dB — never in the red. Always use a pop filter or foam cover. Record a 10-second test and listen on headphones before every session; two minutes of checking saves two hours of re-recording.
Pro sound is not about the price tag — it is about the right mic type for your room, placed correctly, in a quiet space. Nail those three things and your $120 setup will fool listeners into guessing $500.