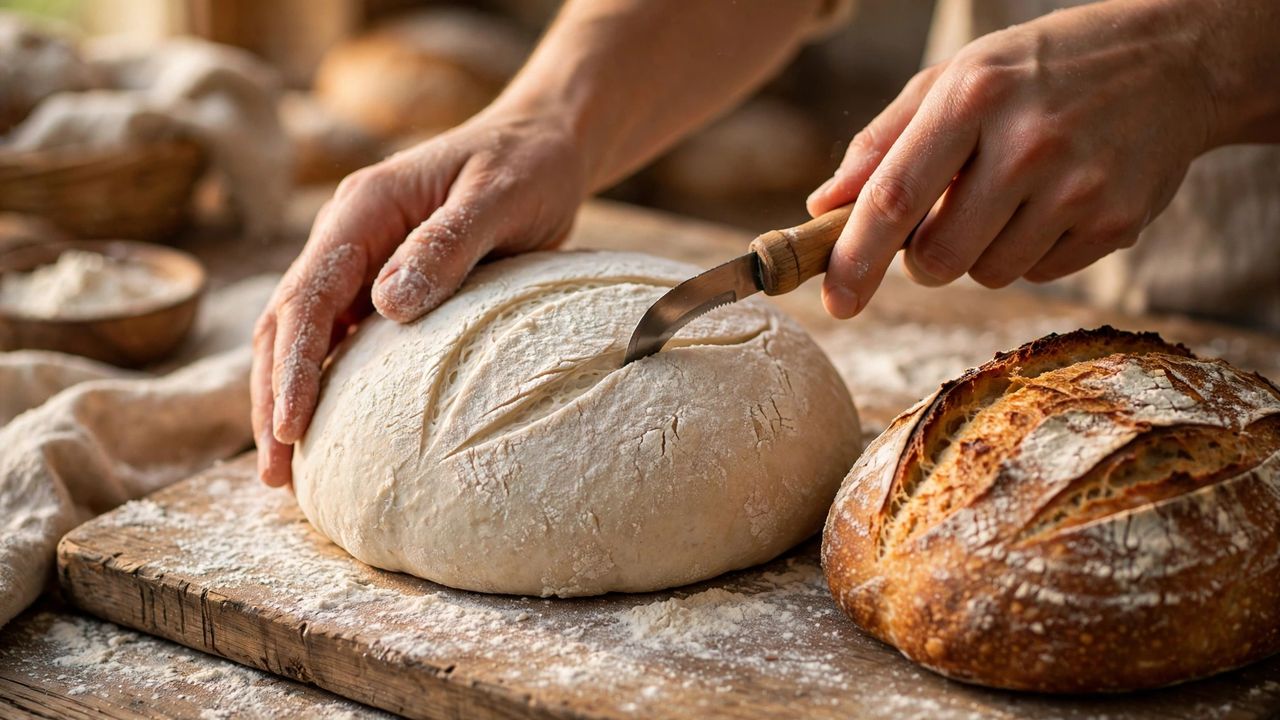
Sourdough looks intimidating — wild yeast, stretch-and-folds, hydration percentages. In truth, it is just flour, water, salt, and patience. If you can follow a simple routine for a week, you can bake a crusty, open-crumbed loaf that beats anything from the store. Here is the beginner-friendly path.
Your Starter Is Just Flour and Water
Mix equal weights of whole-grain flour and water in a jar, and feed it daily by discarding half and adding fresh flour and water. Within 5–7 days it should double in size a few hours after feeding — that means it is active and ready. The float test is your green light: a spoonful of starter should float in water. Keep your starter in the fridge once established and feed it weekly.
Follow a Simple Schedule
Try this beginner formula: 500g bread flour, 350g water, 100g active starter, 10g salt. Mix everything, rest 30 minutes, then do four sets of gentle "stretch and folds" every 30 minutes. Let the dough rise at room temperature until it grows about 50% — usually 4–6 hours. Under-proofed dough makes dense bricks; watch the dough, not the clock.
Shape, Cold-Proof, and Bake Hot
Shape the dough into a tight round, place it seam-up in a floured bowl, and refrigerate overnight — the cold proof deepens the flavor and makes scoring easy. Bake in a preheated Dutch oven at 450°F (230°C): 20 minutes covered, then 20–25 uncovered for a deep golden crust. Let it cool at least an hour before slicing, tempting as it is.
Troubleshooting Your Loaf
Flat and sour? It over-proofed — shorten the bulk rise. Dense and gummy? Under-proofed or sliced too early. Pale crust? Your oven ran cool, or you skipped the uncovered half. Every failed loaf is edible toast and a lesson — keep notes and adjust one variable at a time.
Your first loaf will not be bakery-perfect, and that is fine. By loaf three or four, the rhythm clicks. Sourdough rewards consistency, not perfection — feed your starter, trust the process, and enjoy the best bread of your life.