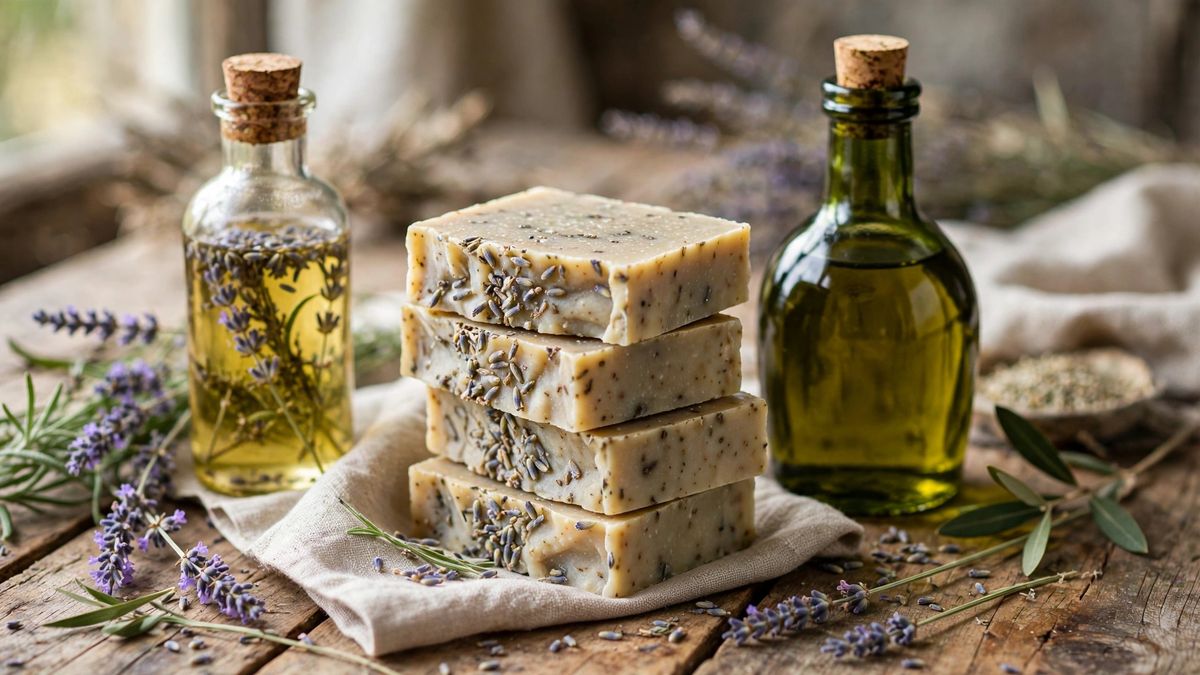
Homemade soap is gentler on skin, free of harsh chemicals, and makes a wonderful gift. With basic kitchen tools you can create beautiful bars in an afternoon. The soap you make yourself will spoil store-bought soap forever.
Understand How Soap Works
Soap forms when oils meet lye (sodium hydroxide) in a reaction called saponification. No lye, no real soap — but melt-and-pour bases handle the chemistry for you. Every true soap bar started life as oil plus lye; there is no way around chemistry.
Safety First
Lye is caustic: wear gloves, goggles, and long sleeves, and work in a ventilated area. Add lye to water — never water to lye — to avoid dangerous splashing. Respect the lye and soap-making is completely safe; ignore the rules and it is not.
Choose Your Method
Melt-and-pour: melt a pre-made base, add scent and color, pour into molds — ready in hours, perfect for beginners. Cold process: mix oils and lye from scratch for fully custom bars, but cure them for 4 to 6 weeks. Start with melt-and-pour to learn the craft, graduate to cold process when you are hooked.
Pick Oils and Butters
Olive oil makes gentle bars, coconut oil adds lather, and shea butter adds luxury. A classic beginner blend: 60 percent olive, 25 percent coconut, 15 percent shea. Your oil blend is your recipe — change the oils and you change the soap.
Scent and Color Naturally
Essential oils like lavender, tea tree, and peppermint scent bars naturally; use about 2 to 3 percent of oil weight. Clays, turmeric, and cocoa powder add gentle color. Less is more — over-scented soap irritates skin and fades fast anyway.
Cure and Store Your Soap
Cold-process soap must cure 4 to 6 weeks so water evaporates and bars harden; uncured soap melts away fast in the shower. Store finished bars in a dry, ventilated spot. Patience is the final ingredient — cured soap lasts twice as long.