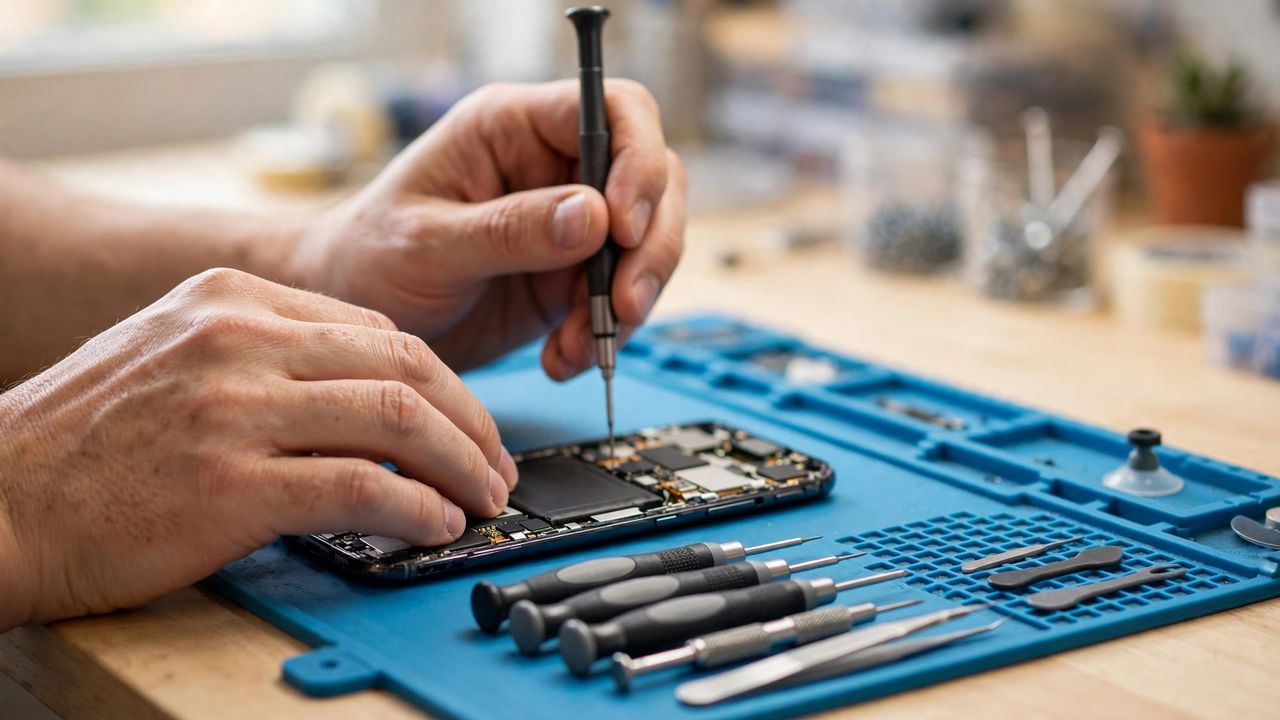
A cracked screen or a battery that dies by noon does not have to mean a costly repair shop visit — or buying a whole new phone. With a basic toolkit, a good video guide and a little patience, the two most common phone repairs are genuinely doable at home, often saving you half or more of the shop price.
The Essential Toolkit
You need less than you think: a precision screwdriver set (Pentalobe + Phillips #000), plastic pry tools and spudgers, tweezers, a suction cup, and adhesive strips for reassembly. A magnetic parts tray keeps the tiny screws from vanishing. A full kit costs less than one shop repair.
Replacing a Cracked Screen
Watch a model-specific video guide first — every phone opens differently. Work slowly: heat the edges to soften the adhesive, pry gently, and disconnect the battery before touching any other connector. Keep every screw labeled by position; mixing them up is the classic beginner mistake.
Swapping a Worn Battery
Batteries are glued in on most modern phones. Use isopropyl alcohol to loosen the adhesive and pry with plastic only — never metal. If the old battery is swollen, puffy or hot, stop immediately: a damaged battery is a fire risk and belongs at a professional recycler.
Safety Rules You Must Follow
Power the phone off before starting, never puncture or bend a battery, and work in a ventilated area. Wear eye protection when dealing with shattered glass. If anything starts smoking or swelling, move the phone to a fireproof surface (a metal baking tray works) and step away.
When to Call a Professional
Leave water damage, motherboard faults and Face ID sensors to the pros — these need microsoldering and calibration tools. Also check your warranty: opening the phone may void it, and for some repairs the shop price is close enough to not be worth the risk.