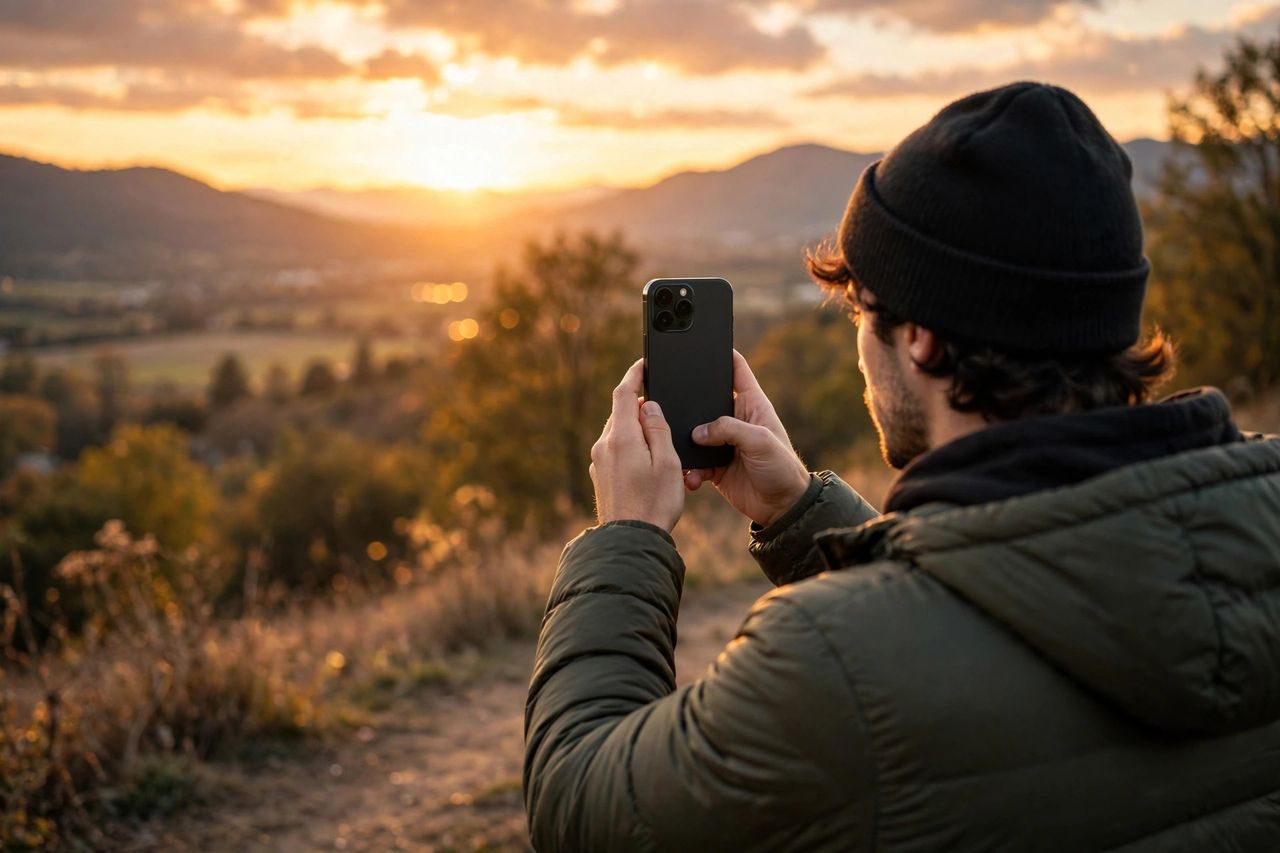
Your iPhone already has pro-level camera hardware — the gap between amateur and stunning shots is mostly technique. These 2026 tips will make your photos look like they came from a dedicated camera, no expensive gear required.
Master Focus and Exposure
Tap your subject to set focus, then slide your finger up or down to adjust exposure manually — the auto exposure almost always gets sunsets and backlit faces wrong. For tricky scenes, press and hold to lock AE/AF so the camera stops "hunting" while you recompose. This single habit fixes half of all disappointing iPhone photos.
Portrait Mode Done Right
Portrait mode creates that creamy DSLR blur, but distance matters: stand 6–8 feet from your subject for the cleanest background blur. After shooting, tap Edit → the "f" icon to adjust the blur strength — dial it back slightly for the most natural look. In low light, skip Portrait mode; it needs light to find edges, and bad blur looks worse than no blur.
Night and Low-Light Secrets
When the yellow moon icon appears, your iPhone wants a longer Night mode exposure — tap the icon and drag the slider to Max for tripod-sharp night shots. Brace the phone against something solid and stay still. Never use the flash for people; instead, move your subject near a lamp or window. Night mode plus real light beats flash every time.
Edit in the Photos App
Skip fancy apps for everyday edits. In Photos, Auto Enhance first, then pull highlights down and shadows up slightly — this recovers detail in bright skies and dark faces. The Vibrance slider adds color without making skin tones orange. Copy edits and paste them onto a whole burst of similar shots to finish an album in minutes.
Great phone photography is 10% gear and 90% decisions: lock exposure, mind your light, and edit lightly. Try one tip per day this week — your camera roll will prove it works.