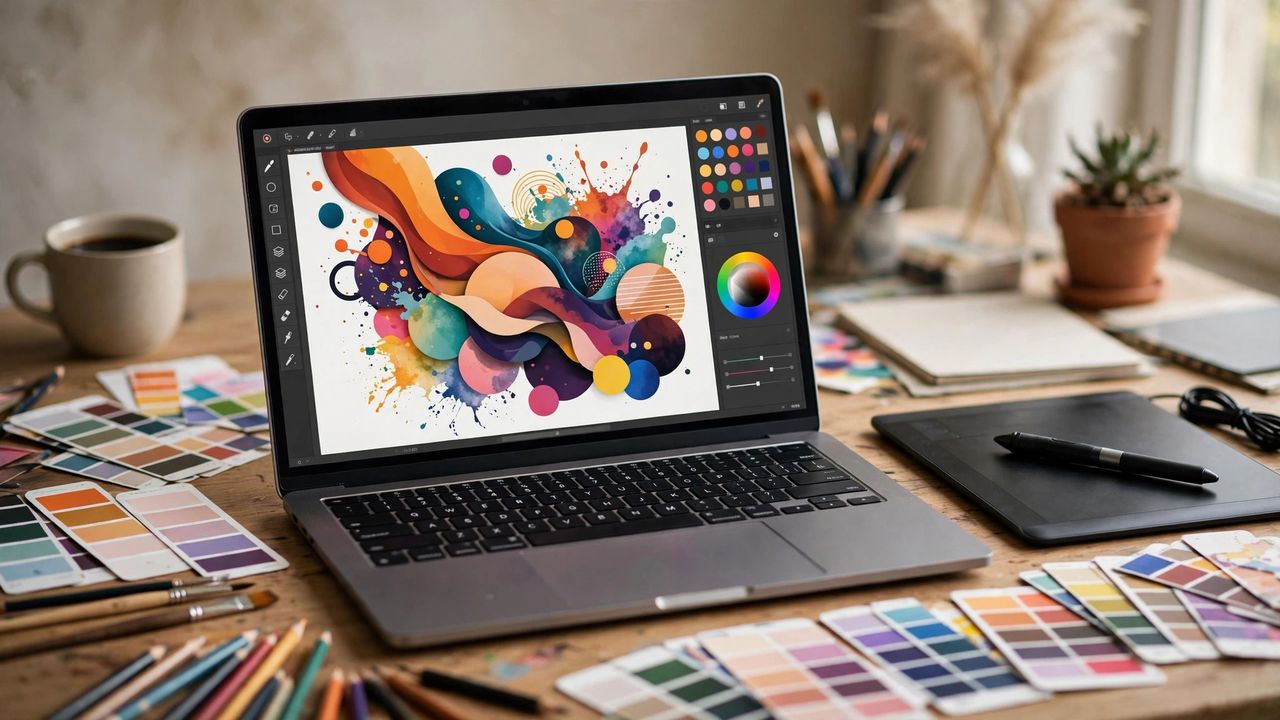
Canva leveled the design playing field: with the right tricks, a complete beginner can make graphics that look agency-made. These 2026 tips cover templates, AI tools, and the small details that separate amateur from polished.
Start With Templates, Then Make Them Yours
Never start from a blank canvas — search templates for your exact need (YouTube thumbnail, Instagram story, resume) and customize. The pro move: change the fonts and colors to your brand first, then swap the images. Set up a free Brand Kit with your colors, fonts, and logo so every design stays consistent in one click.
AI Tools That Do the Hard Parts
Canva's Magic Design generates full layouts from a text prompt — describe what you need and pick your favorite. Background Remover cuts out subjects in one click (perfect for product photos), and Magic Eraser deletes photobombers and blemishes. The AI image generator creates custom graphics when stock photos won't do.
Shortcuts and Polish
Learn T for text box, R for rectangle, L for line, and Ctrl+D to duplicate — you'll design twice as fast. Hold Shift while resizing to keep proportions. Use grids and frames to crop photos into perfect shapes, and apply consistent spacing — aligned elements are the #1 difference between "made in 2 minutes" and "made by a designer."
Design Rules for Non-Designers
Follow three rules and you'll never make an ugly design: max two fonts, max three colors, and plenty of white space — cramming is the classic beginner mistake. Left-align text (centered text is harder to read), and make your headline huge and your details small: hierarchy guides the eye exactly where you want it.
Design is a skill, but in Canva it's mostly decisions. Template, brand kit, AI tools, white space — that's the whole formula for graphics people actually notice.