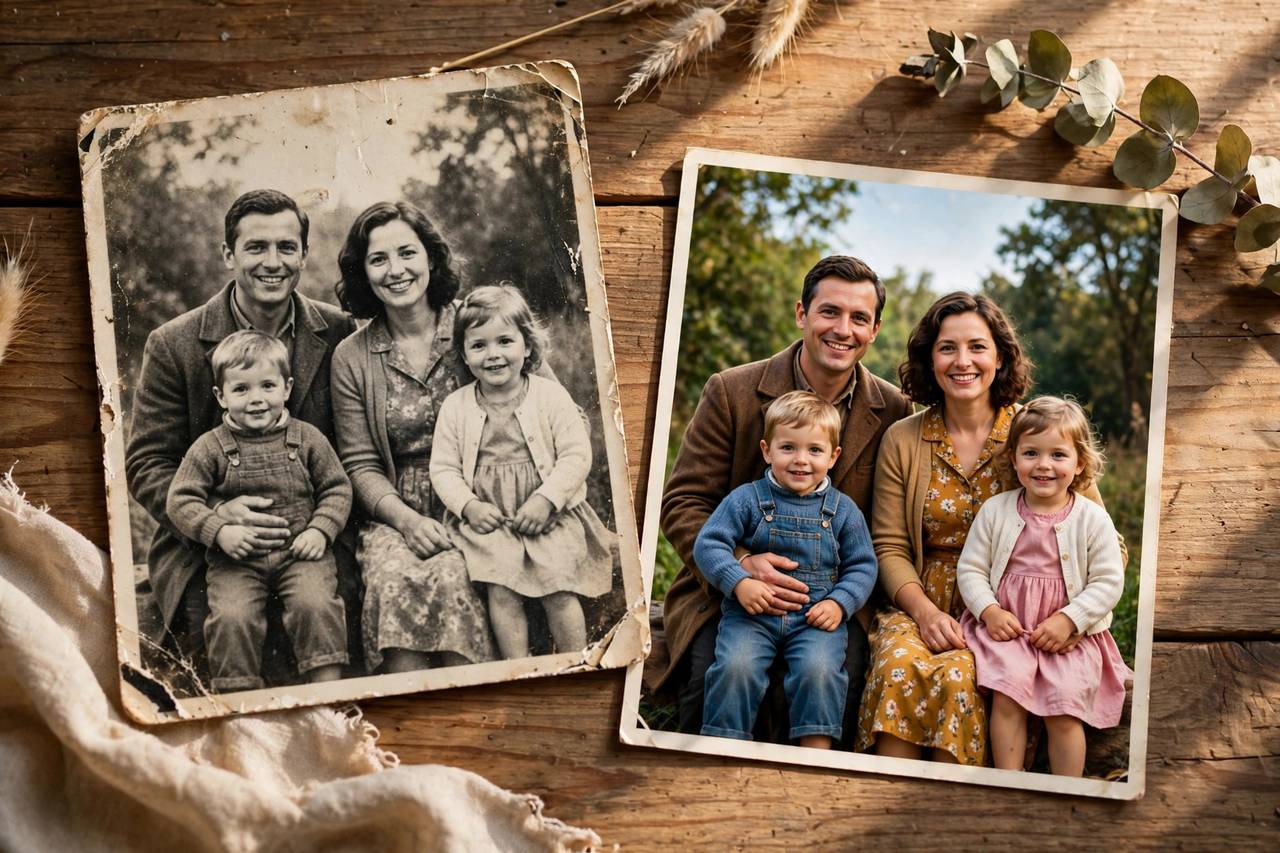
That faded photo of your grandparents does not have to stay faded. AI photo restoration tools in 2026 can remove scratches, fix torn corners, colorize black-and-white shots, and sharpen blurry faces — work that once took a professional hours now takes minutes. Here is how to get the best results from any restoration tool.
Scan properly first
AI can only work with what you give it. Scan at 600 DPI or photograph the print in bright, indirect daylight with no glare. Lay the photo flat, fill the frame, and keep your phone parallel to avoid perspective distortion. A clean, high-resolution input produces dramatically better restoration than a blurry snapshot.
Restore in the right order
Do the steps in sequence: 1) remove scratches and dust, 2) fix contrast and fading, 3) sharpen faces, 4) colorize last (only if you want color). Doing colorization before cleanup bakes the damage into the color layer. Most tools offer one-click "enhance" — try it first, then fix what it missed manually rather than starting from scratch.
Faces need a light touch
Aggressive face restoration can make ancestors look like strangers — the "plastic" look comes from over-smoothing. Use the lowest enhancement strength that fixes the blur, and compare against the original at 100% zoom. If a tool invents details (wrong glasses, changed expressions), dial it back. Preserving likeness matters more than perfect sharpness.
Colorize with reference photos
AI colorization guesses colors — it cannot know your grandmother's dress was blue. Feed the tool reference photos from the same era or manually guide key colors (skin, clothing, background) when the option exists. Save both the black-and-white restoration and the colorized version; families often treasure both.
Old photos are irreplaceable — back up the originals before editing, work on copies, and share the restored versions with family. A few minutes with the right tool can give a century-old photo a second life.