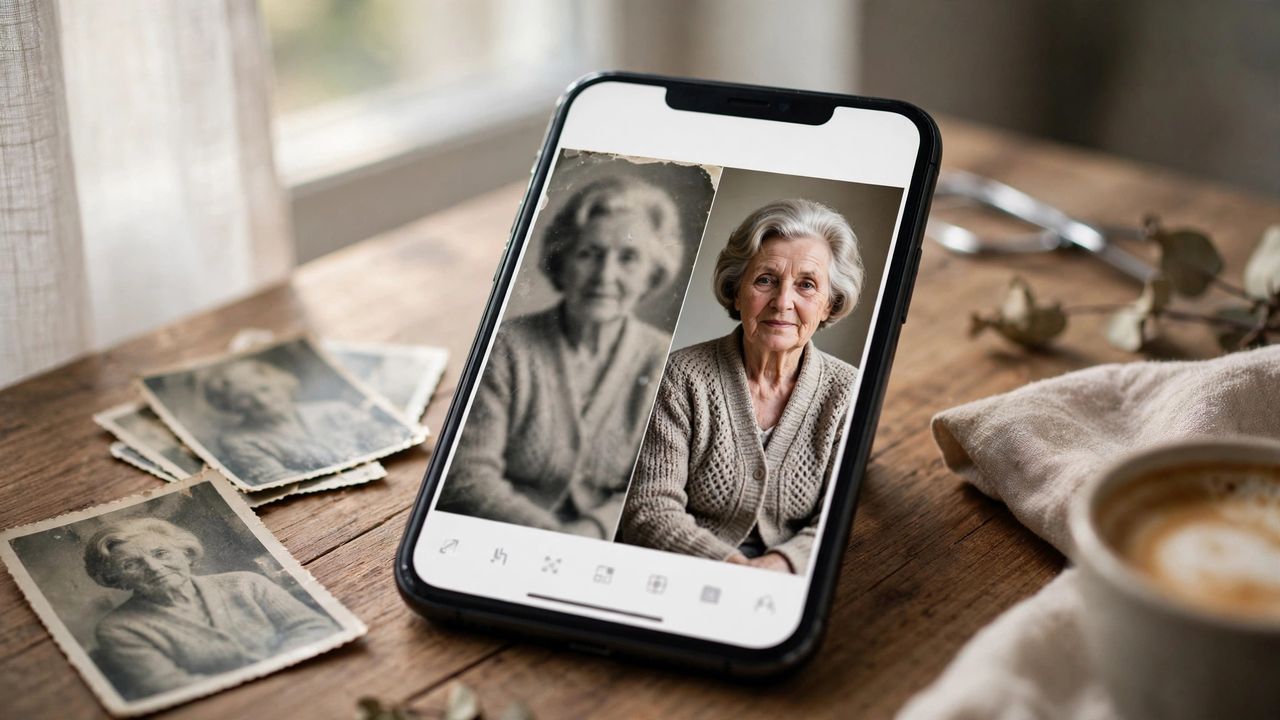
That perfect moment ruined by a shaky hand or bad lighting? In 2026, AI photo enhancers can rescue images you'd have deleted a few years ago — sharpening blur, rebuilding detail, and upscaling tiny photos in seconds. Here's how to use them and which results to trust.
What AI Enhancers Can Actually Fix
Modern enhancers handle blur, noise, low resolution, and compression damage remarkably well. They can also colorize black-and-white shots and repair scratched old photos. What they can't do: invent detail that never existed. A face turned away will stay a mystery — the AI sharpens and reconstructs, it doesn't magically identify people. Set expectations there, and the results feel like magic.
Free Tools Worth Trying First
Start with free online enhancers before paying for anything — most give you several free enhancements per day. Upload at the highest resolution you have; AI works best with more source data, even from a "bad" photo. For old family pictures, use the scratch-removal and colorization modes separately — doing one job at a time produces cleaner results than a single aggressive pass.
Getting the Best Results
Don't crank enhancement strength to maximum — it creates the waxy, over-smoothed look that screams "AI edited." A moderate pass looks far more natural. Zoom in to 100% and check faces and text, where artifacts show first. If you're enhancing for print, upscale to at least 2x your target print resolution and sharpen gently afterward.
When AI Enhancement Goes Wrong
Watch for invented details: the AI might redraw an eye slightly differently or add texture that wasn't there. For sentimental photos, compare side by side with the original and accept that some grain is honest. And remember: enhanced photos can look deceptively real — never use them to "prove" something happened. Keep enhancement for memories, not evidence.
Used wisely, AI photo enhancement is the closest thing to a time machine for your camera roll. Start free, go moderate, and keep the originals — storage is cheap and nostalgia isn't.